Table of Contents [expand]
- Use Cases
- Kafka Concepts
- Preparing Your Development Environment
- Understanding Apache Kafka on Heroku Plans
- Provisioning Apache Kafka on Heroku
- Managing Kafka
- Version Support
- Migrating Between Plans
- Connecting to Apache Kafka on Heroku
- Monitor Your Apache Kafka on Heroku Cluster
- Regions
- Node Failure Exercise
- Support
Last updated June 30, 2026
Apache Kafka on Heroku is an add-on that provides Kafka as a service with full integration into the Heroku platform.
Apache Kafka is a distributed commit log for fast, fault-tolerant communication between producers and consumers using message-based topics. Kafka provides the messaging backbone for distributed applications that handle billions of events and millions of transactions. Kafka is designed to move large volumes of ephemeral data with a high degree of reliability and fault tolerance.
Use Cases
Use Kafka to design and implement architectures for many important use cases, such as:
Elastic Queuing
Kafka makes it easy for systems to accept large volumes of inbound events without putting volatile scaling demands on downstream services. These downstream services can pull from event streams in Kafka when they have capacity, instead of being reactive to the “push” of events. This design improves scaling, handling fluctuations in load, and general stability.
Data Pipelines and Analytics
Apps at scale often need analytics or extract, transform, and load (ETL) pipelines to get the most value from their data. Kafka’s immutable event streams enable developers to build highly parallel data pipelines for transforming and aggregating data. This process means that developers can achieve faster and more stable data pipelines than what’s possible with batch systems or mutable data.
Microservice Coordination
Many apps move to microservice-style architectures as they scale, and encounter challenges: service discovery, managing dependencies between services, and coordinating service interactions. Apps that use Kafka for communication between services can simplify these design concerns dramatically. Kafka makes it easy for a service to bootstrap into the microservice network, and discover which Kafka topics to send and receive messages on. Kafka reduces ordering and dependency challenges, and topic-based coordination lowers the overhead of service discovery when you manage messages between services in Kafka.
Kafka Concepts
A Kafka cluster composes of brokers, instances that run Kafka. Each plan includes a fixed number of brokers (3 for standard, 8 for extended plans) to provide capacity, resilience, and parallelism.
Producers are clients that write to Kafka brokers, while consumers are clients that read from Kafka brokers.
Brokers manage streams of messages, events sent to Kafka, in topics. You can configure topics with a range of options, such as retention or compaction and replication factor, depending on the data they’re meant to support.
Topics compose of partitions, discrete subsets of a topic used to balance the concerns of parallelism and ordering. Increased numbers of partitions can increase the number of producers and consumers that can work on a given topic, increasing parallelism and throughput. Kafka orders the messages within a partition, but it doesn’t guarantee the ordering of messages across partitions. Proper partition configuration requires balancing parallelism against ordering requirements.
As an example, consider a topic that uses a hash of a user ID as its partition key. This scenario guarantees that any consumer sees updates for a given user in the order they occur, but updates for different users, potentially managed on different partitions, can arrive ahead of or behind each other.
Each message in a partition has an offset, a sequential numeric identifier that denotes its position within that partition. Messages can also have an optional timestamp, which can reflect either the time the message was created or the time the message was written to Kafka.
The Apache Kafka project provides a more in-depth discussion in their introduction documentation.
Preparing Your Development Environment
Apache Kafka on Heroku requires the use of the heroku-kafka CLI plugin. To install the plugin:
$ heroku plugins:install heroku-kafka
Understanding Apache Kafka on Heroku Plans
Apache Kafka on Heroku offers a variety of plans, spread across different tiers of service: Standard, Private, and Shield. For more information on what each plan provides, see Choosing the Right Apache Kafka on Heroku Plan.
Pricing information for Kafka plans is available on the Apache Kafka on Heroku add-on page.
If your app’s requirements eventually outgrow the resources provided by the initial plan you selected, you can upgrade your cluster to a new plan.
Provisioning Apache Kafka on Heroku
For more information about how to provision, share, view, and destroy a Kafka cluster, see Provisioning Apache Kafka on Heroku.
Managing Kafka
For more information on managing Kafka topics and partitions, see Managing Topics and Partitions on Apache Kafka on Heroku.
Version Support
The Apache Kafka project releases a new major version approximately every four months (3x/year). In accordance with this release schedule, we make all versions published in the last year available for new add-ons. For more information about version support, see Apache Kafka on Heroku Version Support.
For more information about upgrading the version on your cluster, see Upgrading Kafka Versions.
Migrating Between Plans
For more information about upgrading and migrating between plans, see Changing the Plan of an Apache Kafka on Heroku Cluster.
Connecting to Apache Kafka on Heroku
For more information about connecting to a Kafka cluster, see
- Connecting to Apache Kafka on Heroku
- Connecting to a Private or Shield Kafka cluster from an External Resource
To see our supported client libraries for Kafka, see Language Support.
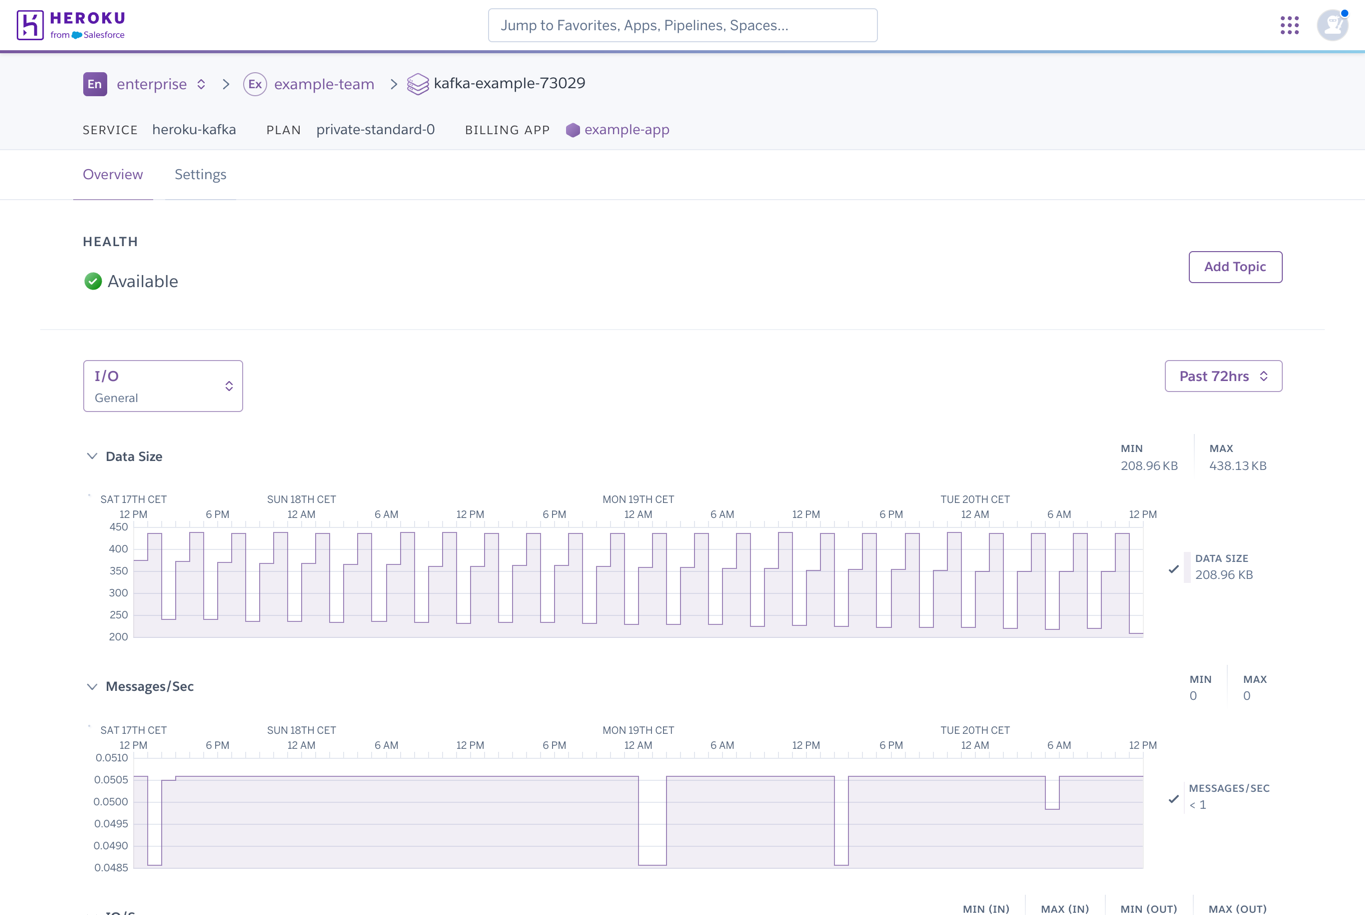
Monitor Your Apache Kafka on Heroku Cluster
For more information about Apache Kafka on Heroku metrics logs, see Apache Kafka on Heroku Metrics Logs.
Regions
Kafka is available in all regions supported by Heroku.
Heroku distributes Kafka brokers across network availability zones to provide increased resilience to system or hardware failure. Some regions have different numbers of network availability zones, though, which can require extra care to achieve the targeted fault tolerance.
Node Failure Exercise
Distributed databases are designed to operate despite node failure. Unfortunately, while the database can remain available during a node failure, performance and other characteristics can be degraded. Adding nodes to a heavily loaded cluster results in similar behavior, as load incurs while data replicates to the new node. Apache Kafka on Heroku offers a CLI tool that you can use to cause one of the nodes in your cluster to fail.
The heroku kafka:fail command causes one of the nodes in your cluster to fail.
$ heroku kafka:fail -a example-app
 ›   Warning: This command will affect the cluster: kafka-animated-39618, which is on example-app
 ›
 ›   This command will forcibly terminate nodes in your cluster at random.
 ›   You should only run this command in controlled testing scenarios.

✔ To proceed, type example-app or re-run this command with --confirm example-app example-app
Triggering failure... done
Triggered failure on node 2 (34.242.118.51)
You can track the recovery progress with the heroku kafka:wait command.
During a failure, our automated systems work to restore normal operations. Verify that your app operates successfully under heavy load with a failed node. We recommend validating this test in a staging environment.
The catastrophic flag destroys a node and replaces it in the cluster, rather than simply rebooting it. This places substantial additional read traffic on the other nodes in your cluster while the replacement node resyncs its state.
$ heroku kafka:fail --catastrophic -a example-app
 ›   Warning: This command will affect the cluster:kafka-animated-39618, which is on example-app
 ›
 ›   This command will forcibly terminate nodes in your cluster at random.
 ›   You should only run this command in controlled testing scenarios.

✔ To proceed, type example-app or re-run this command with --confirm example-app example-app
Triggering failure... done
Triggered catastrophic failure on node 7 (52.214.173.184)
Support
Submit all Apache Kafka on Heroku support and runtime issues via one of the Heroku Support channels.