Last updated June 02, 2026
This article describes how to use AWS PrivateLink to create a secure connection between an Amazon Virtual Private Cloud (AWS VPC) and an Apache Kafka on Heroku add-on provisioned in a Private Space or a Shield Private Space. This process involves three high-level steps:
- Creating an endpoint service on your Private or Shield Apache Kafka on Heroku cluster
- Creating an endpoint network interface in your AWS VPC
- Establishing the secure connection between the two endpoints
As part of setting up the connection, you can specify a list of approved accounts to limit access to your Kafka add-on from the VPC.
To use this feature, you must provision the Amazon VPC you create in a subnet that’s in the same region as your Kafka cluster. See Regions for more information.
Heroku Prerequisites
The following Heroku resources are required to set up a PrivateLink endpoint:
- A Private Space or Shield Private Space. Create a Private Space or a Shield Private Space using either the Heroku Dashboard or the Heroku CLI.
- A Heroku app running in the Private Space or Shield Private Space with an attached Apache Kafka on Heroku add-on. All Apache Kafka on Heroku clusters running in a Private Space or Shield Private Space use one of the
privateorshieldplan types, respectively. See Apache Kafka on Heroku on how to create a cluster.
Provisioning the Heroku Endpoint
Step 1: Install the Heroku Data via PrivateLink CLI Plugin
To install the CLI plugin, run the command:
$ heroku plugins:install @heroku-cli/plugin-data-privatelink
Step 2: Obtain Your AWS Account ID
You can obtain your AWS account ID with the AWS CLI:
$ aws sts get-caller-identity --output text --query 'Account'

123456789101
The example command returns an account ID of 123456789101.
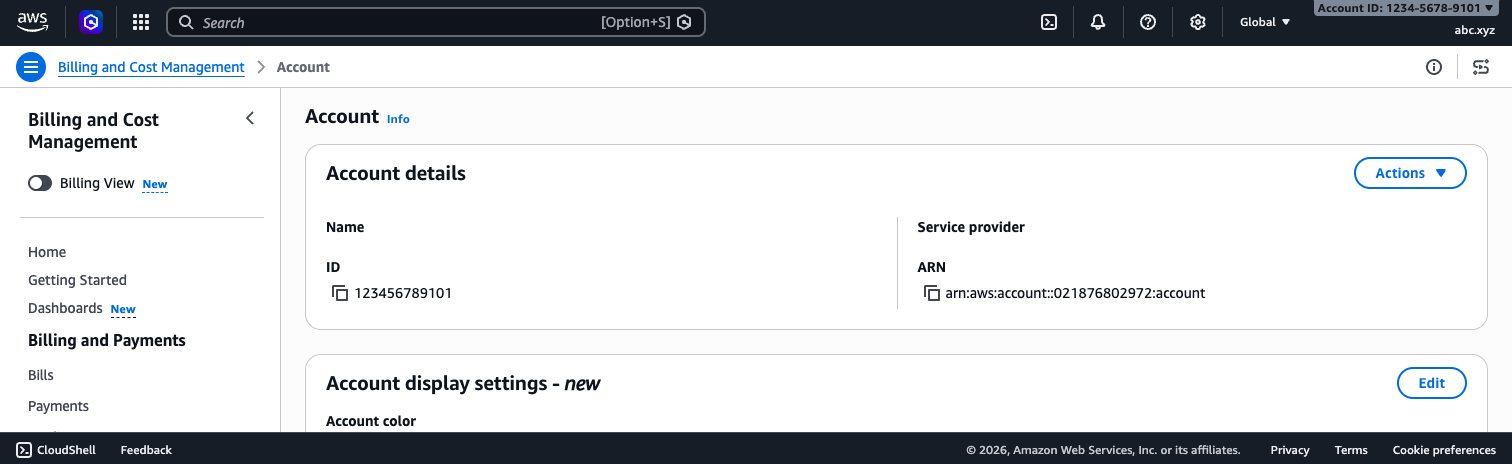
You can also obtain your account ID from the Account page of your AWS account. The Account ID is in the Account Details section:
Step 3: Create a PrivateLink Endpoint
Create a PrivateLink endpoint using the following Heroku CLI command and substitute the values:
$ heroku data:privatelink:create KAKFA_ADDON_NAME --aws-account-id ACCOUNT_ID --app APP_NAME
- Replace
KAKFA_ADDON_NAMEwith the name of your Kafka add-on, for example,kafka-simply-12345. - Replace
APP_NAMEwith your app’s name. - Replace
ACCOUNT_IDwith the AWS account that receives access to your Kafka add-on. This ID can match any of the following patterns:- account-id
- account-id:user/username
- account-id:role/rolename
You can specify the --aws-account-id flag multiple times to include multiple accounts.
Here’s an example command with the output:
$ heroku data:privatelink:create kafka-simply-12345 --aws-account-id 123456789101:user/abc.xyz --app example-app
Creating privatelink endpoint... done

Service Name: Provisioning
Status:       Provisioning

The privatelink is now being provisioned for kafka-simply-12345.
Run heroku data:privatelink:wait kafka-simply-12345 --app example-app to check the creation process.
New PrivateLink endpoints typically take between 5–10 minutes to become available. You can track your progress with heroku data:privatelink:wait KAKFA_ADDON_NAME --app APP_NAME.
Step 4: Obtain Your Endpoint’s Service Name
When the PrivateLink endpoint finishes provisioning, use the command to view its details:
$ heroku data:privatelink KAKFA_ADDON_NAME --app APP_NAME
Replace KAFKA_ADDON_NAME with the name of your Kafka add-on, and replace APP_NAME with your app’s name.
Here’s an example command with the output:
$ heroku data:privatelink kafka-simply-12345 --app example-app
=== privatelinks for kafka-simply-12345
Service Name:         com.amazonaws.vpce.us-east-1.vpce-svc-0410a2e25933fe8ec
Status:               Operational

=== Allowed Accounts
ARN                                    Status
arn:aws:iam::123456789101:user/abc.xyz Active

Your privatelink endpoint is now operational.
You must now copy the Service Name and follow the rest of the steps listed in https://devcenter.heroku.com/articles/heroku-kafka-via-privatelink.
Copy the value of the Service Name field from the command’s output. In the previous example, the service name is com.amazonaws.vpce.us-east-1.vpce-svc-0410a2e25933fe8ec. You need this value to provision the Amazon VPC endpoint.
Provisioning the Amazon VPC endpoint
You perform the steps in this section from your Amazon VPC dashboard.
Step 1: Create and Configure a Security Group
Your endpoint requires a security group with appropriate ingress security rules. To create a security group:
- Click
Create security groupin theSecurity Groupstab of your VPC dashboard. - In the
Basic detailssection, specify a security group name and description, and select your target VPC. - In the
Inbound rulessection, click toAdd rule. - Enable Custom TCP access to ports
10000–11000from any valid IP address. - Click
Create security group.

Step 2: Create the endpoint
To create an endpoint:
-
Navigate to the
Endpointstab of your VPC dashboard and clickCreate Endpoint. -
Give a name for your endpoint in the
Name tagfield. -
In the
Typesection, select thePrivateLink Ready partner servicescategory. -
In the
Service settingssection, paste theService namevalue you obtained earlier. -
Click
Verify serviceto show the list of available subnets.
-
In the
Network Settingssection, select the VPC you specified when creating the Security Group. -
In the
Subnetssection, select the subnets to enable and the Subnet ID, and select the IP address type to use. -
In the
Security groupsection, select the security group you created in the previous step, and clickCreate endpoint.
When you create the endpoint, it has an initial status of pending acceptance, which transitions to available after 5-10 minutes:
Connecting the Heroku and Amazon VPC Endpoints
After the Amazon VPC endpoint becomes available, you can obtain the URLs from the config var that Heroku creates to allow your VPC to communicate with your Apache Kafka on Heroku cluster (KAFKA_ENDPOINT_ID_URL).
The config var name with the endpoint’s connection string includes the last 17 characters of your endpoint ID, in uppercase. For example, if the endpoint ID is vpce-01c87ae3c05563935, the config var name uses 01C87AE3C05563935.
List your app’s config vars and search the config var for your endpoint. Run the command, replacing ENDPOINT_ID:
$ heroku config --app example-app | grep ENDPOINT_ID
This command shows the AWS VPC endpoint connection URL and the corresponding connection string for your Kafka cluster. The connection string has the following format:
kafka+ssl://vpc-endpoint-dns-name:10001,kafka+ssl://vpc-endpoint-dns-name:10002,kafka+ssl://vpc-endpoint-dns-name:10003
You can now use this connection string to connect the app in your AWS VPC to your Apache Kafka on Heroku add-on. Here’s an example command with the output:
$ heroku config --app example-app | grep 01C87AE3C05563935

KAFKA_ENDPOINT_01C87AE3C05563935_URL:  kafka+ssl://vpc-endpoint-dns-name:10001,kafka+ssl://vpc-endpoint-dns-name:10002,kafka+ssl://vpc-endpoint-dns-name:10003
The VPC endpoint connection ports for Apache Kafka on Heroku can occasionally change after cluster maintenance events or plan upgrades and downgrades. Port changes happen within the 10000–11000 range. These port changes automatically reflect in your app’s config vars.
You can also get the endpoint connection string from the Heroku Dashboard:
- Navigate to your database in the Heroku Dashboard and click the
Settingstab. - Click
Show Configurationnext toHeroku Postgres via PrivateLinksection. - Click
Reveal Credentialsto show the endpoint connection string.
For any issues or concerns with using this feature, open a support ticket.
Limitations
- You must provision the Amazon VPC endpoint you create in a subnet that’s in the same region as your Apache Kafka on Heroku cluster.
- You can only connect to your Kafka cluster in availability zones that are common between your own VPC and the Heroku Data VPC.
- It’s your responsibility to verify the security of your VPC to ensure fully secure access to your Apache Kafka on Heroku cluster.