Table of Contents [expand]
Last updated March 30, 2026
If you’ve created a custom buildpack, you can add it to the Heroku Buildpack Registry to make it discoverable by the Heroku community.
This article is only applicable to classic buildpacks.
Buildpack Registry features
When you register your custom buildpack, it becomes searchable from the Heroku CLI.
The Buildpack Registry makes it easy to:
- Specify your buildpack’s description and category
- Choose a Heroku namespace for your buildpacks
- Publish new versions of your buildpack and roll back if you encounter errors
- Specify your intended support level for the buildpack
You do NOT need to register your buildpack to use it in your own app.
Registering a buildpack
You can register and publish a buildpack entirely from the Heroku Partner Portal. However, if you prefer to use the Heroku CLI, the Buildpack Registry CLI plugin provides publish, rollback, and search functionality. To install the plugin, run:
$ heroku plugins:install @heroku-cli/plugin-buildpack-registry
Then open the portal with the following CLI command:
$ heroku buildpacks:register
On the Buildpacks tab, click Create Buildpack.
Next, fill out information about your buildpack:
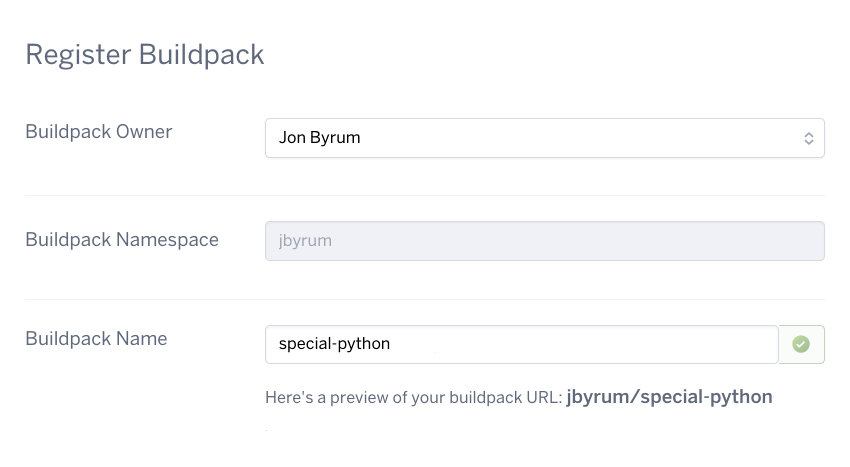
- Select the owner of the buildpack. This can be either a Heroku team or an individual user account.
- Specify the buildpack’s namespace, or select one you’ve already created (learn more about namespaces).
Specify the name of the buildpack. Please avoid using “buildpack” in the name of your buildpack.
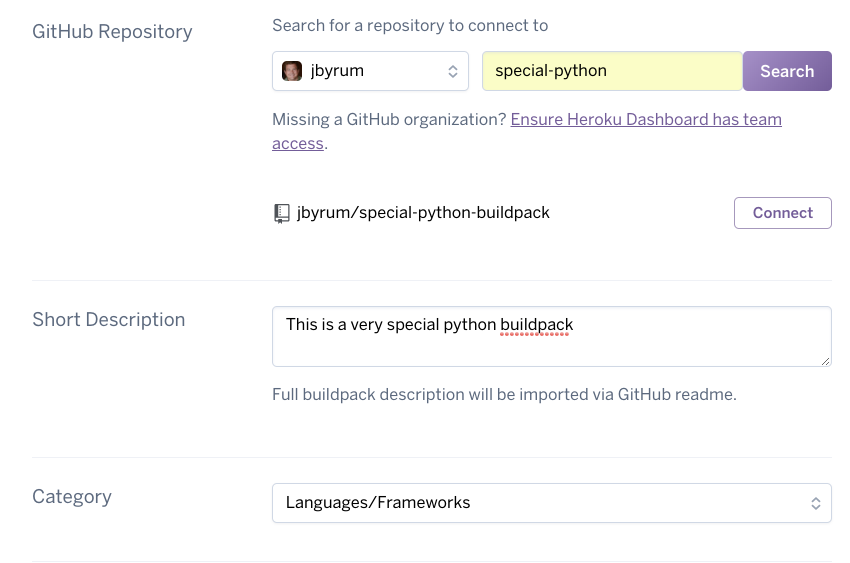
Specify the buildpack’s GitHub repo and click
Connect. Note that you must have access to a buildpack’s repo to publish it. The buildpack must also conform to the conventions defined in the buildpack API documentation.Add a short description.
Select a category for your buildpack.
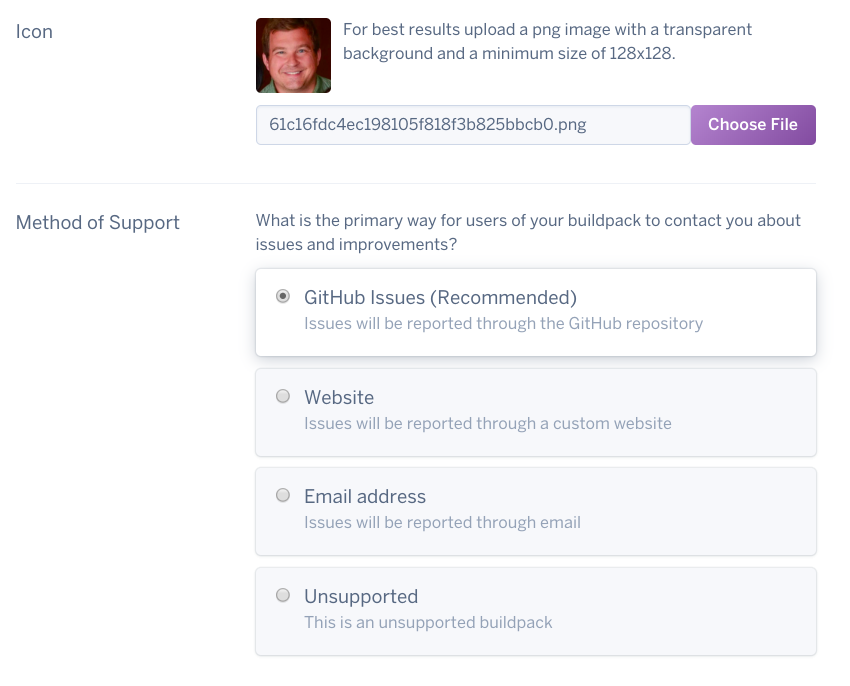
Provide an icon for the buildpack. If no icon is provided, your GitHub profile picture is used.
Specify the primary method that Heroku community members should use for buildpack support.
- You can decide whether to use GitHub issues, a website, or an email address to support your buildpack. You can also choose not to support your buildpack.
- The level of support you provide is entirely up to you. Heroku does not provide any supplementary support for custom buildpacks.
Installing the CLI plugin
You can register and publish a buildpack entirely from the Heroku Partner Portal. However, if you prefer to use the Heroku CLI, the Buildpack Registry CLI plugin provides publish and rollback functionality. To install the plugin, run:
$ heroku plugins:install @heroku-cli/plugin-buildpack-registry
For a list of all buildpack CLI commands, including those provided by the plugin, run:
$ heroku help buildpacks
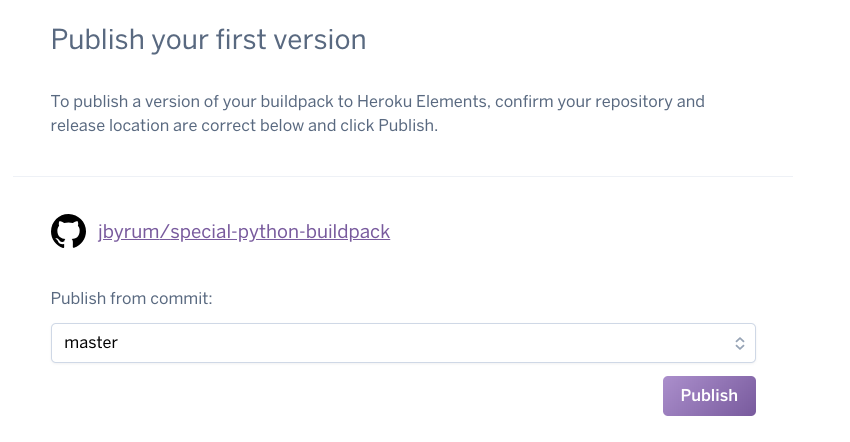
Publishing a buildpack version
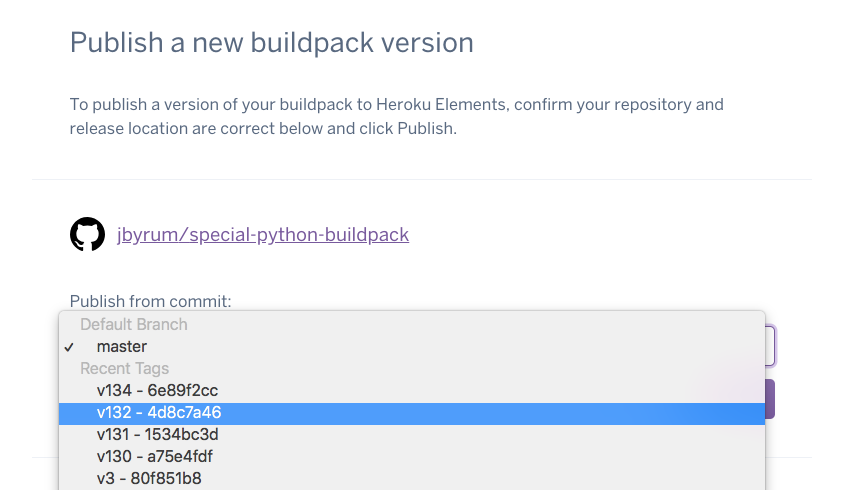
After you register a buildpack, you can publish its first version. You can publish either a specific branch or a GitHub tag.
We recommend merging commits to main and using a GitHub tag to denote a new version. Tags allow you to easily roll back to an older version of your buildpack if issues arise.
If you publish your main branch, future updates to the main branch are NOT automatically published.
Publishing from the CLI
To publish a buildpack version from the CLI, specify the buildpack’s namespace and name, along with the tag or branch you want to publish:
$ heroku buildpacks:publish jbyrum/special-python main
Rolling back
If you publish a new version of your buildpack and encounter errors, you can easily roll back via the Dashboard. Simply publish a previously defined tag that doesn’t include the new bug:
Rolling back from the CLI
This command rolls the buildpack back to its previously published version:
$ heroku buildpacks:rollback jbyrum/special-python
Archiving your buildpack
If you no longer wish for your buildpack to be listed in Buildpack Registry, you can archive it by running:
$ heroku buildpacks:archive jbyrum/special-python
Archiving a buildpack is a safe operation that will not break apps that currently use the buildpack.
Searching for your buildpack
You can search for your buildpack via the CLI:
$ heroku buildpacks:search java

Buildpack    Category   Description
───────────  ─────────  ──────────────────────────────────
heroku/java  languages  Official Heroku Buildpack for Java
Creating a buildpack descriptor
You can create a buildpack.toml file in the root directory of your GitHub repo to provide metadata and instructions to the Buildpack Registry service. An example of this file may look like:
[buildpack]
name = "Ruby"

  [publish.Ignore]
  files = [
    "etc/",
    "spec/",
    "test/",
    "vendor/",
    ".gitignore",
    ".travis.yml",
    "Gemfile",
    "Gemfile.lock"
]
For more information on the syntax, see the TOML documentation. For an example of this file, see the Ruby buildpack descriptor.
Namespaces and buildpack ownership
A buildpack is owned by either a Heroku team or an individual user.
When registering your first buildpack, first create your namespace. Once created, a namespace cannot be changed.
A namespace must:
- Have two or more characters
- Be globally unique
- Include only alphanumeric characters and dashes
Example namespaces:
| Owner | Entity type | Namespace |
|---|---|---|
| Acme Design Team | Enterprise Team / Heroku Team | acme-design |
| Jon Byrum | Individual | jbyrum |
We recommend using the same namespace you use on GitHub or Docker Hub.
Namespace rules
- Heroku namespaces are provided on a first-come, first-served basis, and are intended for immediate and active use. Namespaces cannot be held inactive for future use, and name squatting is prohibited.
- Heroku reserves the right to rename or remove inactive namespaces at its discretion.
- Attempts to sell, buy, or solicit other forms of payment in exchange for namespaces are prohibited and may result in permanent account suspension.
- If you believe a Buildpack Registry namespace is violating your trademark rights, please contact Heroku support.
Buildpack Terms of Use
The Heroku Terms of Use (Default) governs the Terms of Use of your buildpack unless you provide your own Terms of Use in your GitHub repository. It is common practice to link to your Terms of Use in your README file or to add them as a license file to your GitHub repository.